Convenience, style, and tidiness are all reasons to build a raised garden bed—not to mention the boost they give to your veggies. But if you’ve never held a saw or drill in your life, don’t worry. Raised beds are an excellent project for any beginner garden or first-time carpenter. Here are the steps to start from the ground up!
A raised garden bed will save you lots of weeding down the road, give you extra growing space with the best soil possible, and save your back—among other benefits.
Why Start a Raised Garden Bed
Raised bed gardening is a popular trend with many good reasons to back it up. Of primary importance is your back itself. An elevated bed means you don’t have to bend so far. But a bed also promotes better plant growth by giving your soil more warmth from the sun. A raised bed also has fewer weeds and an elegant, tidy look. Plus, if your soil is super compact, you can start a raised bed right on top!
Where to Place a Raised Garden Bed
To start the building process, choose a spot that complements your existing garden design. Ensure it gets lots of sunshine, easy access to a water source, and shelter from wind—all key features for successful veggies. Flat ground is ideal, but you can move around any earth, as necessary, to make it level.
How to Choose Dimensions for a Raised Garden Bed
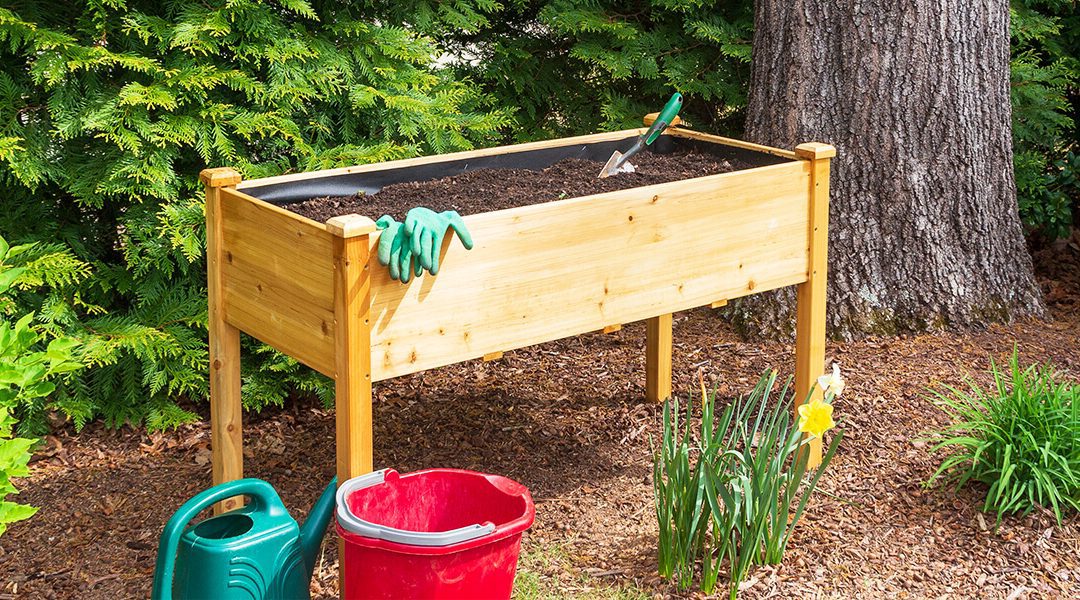
- Height: You want your raised bed to be at least six inches tall to give the roots room to grow. 10-12 inches is necessary if you’re building over concrete or stone. Higher beds make it even easier to bend down and reach the garden.
- Length and Width: The ideal length for your bed depends on your desired size and available space. When deciding on your width, you need to be able to reach the middle of the bed without stepping onto the soil. So, keep it 4 feet wide as a maximum or slightly wider if you have long reach.
How to Select Wood for a Raised Garden Bed
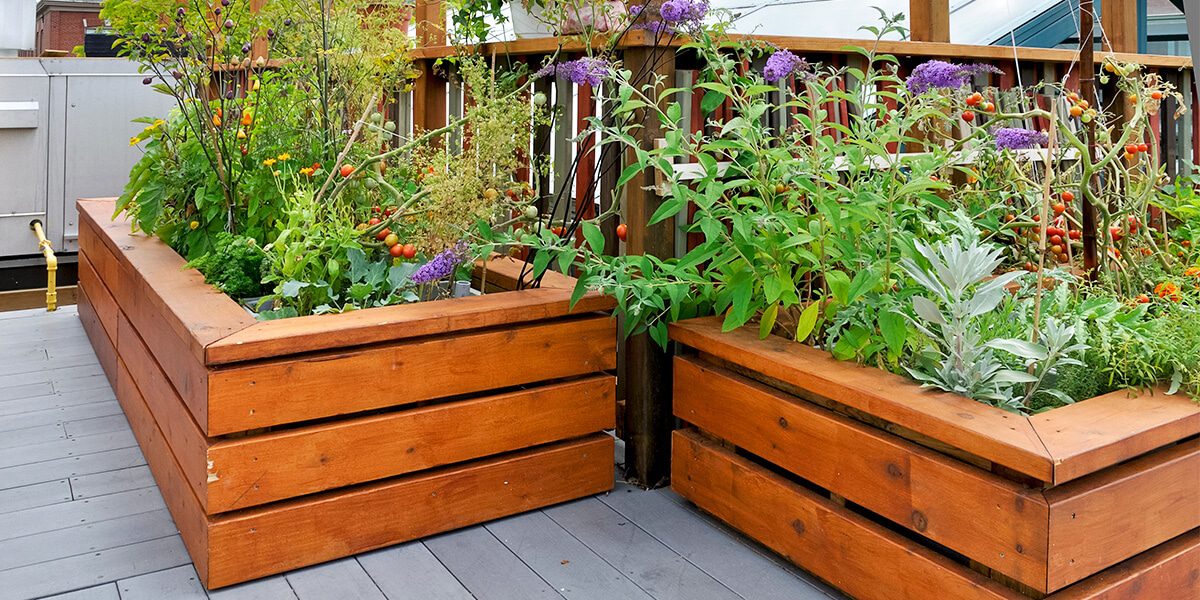
Some people build beds out of stone retaining walls, but wood is the most common and cheapest material. To keep your veggies chemical-free, always use untreated wood. Cedar is the best choice, as it’s naturally resistant to rotting. If you’re not using a rot-resistant wood, expect the boards to last 5 to 10 years.
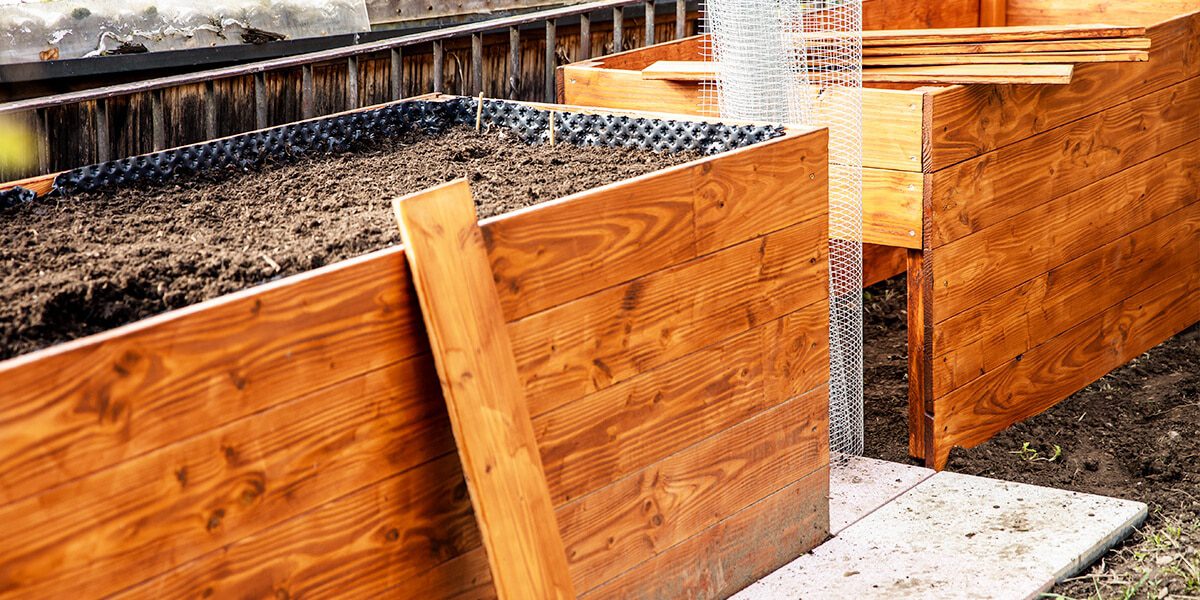
Pro tip: To extend the life of your raised bed, staple a heavy plastic liner onto the inside of the boards. Another trick is to build the box so that it’s easy to replace single boards when they rot.
How to Design a Raised Bed
- Let’s start with board thickness: This is partly a choice of aesthetics, the price of wood, and the strength of the structure you want. Most people use boards 1 or 2 inches thick. Posts in the corners or halfway between corners add extra strength and keep the boards from warping over time.
- Should I stake it into the ground? Some people pound posts into the ground to hold the frame in place. While it makes it extra stable, this step is not necessary. The weight of the soil alone will keep the raised bed from moving.
- Comfort and Beauty: An optional rim on top (e.g., a 2×4 nailed flat on top of the bed walls) adds a touch of style and a comfortable ledge to sit on while gardening.
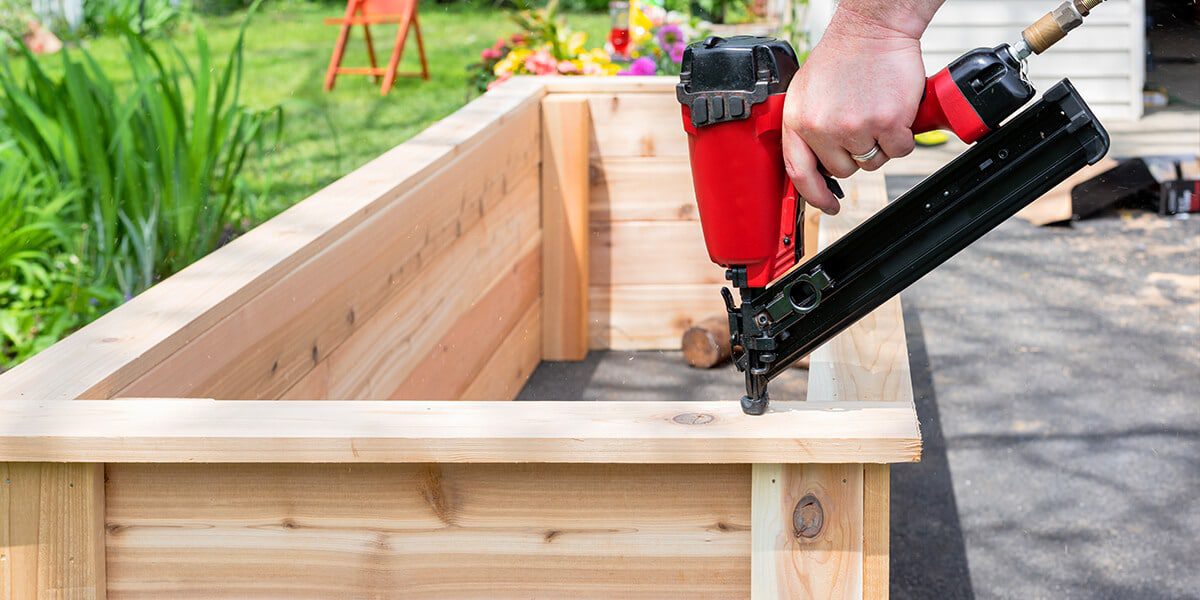
How to Build a Raised Garden Bed
Even if you have no carpentry experience, the building process is easy. It’s just a matter of sawing the boards to size and screwing them together. Here are four tips to get you off to a good start:
- Saw it into size: if you don’t own a saw, you can rent one. Better yet, bring your dimensions to the lumber store when you go to buy the wood. They’ll be able to cut them for you.
- Screw the boards together: Before you start to screw, remember to drill pilot holes first to keep the wood from splitting.
- Square it: Once the box is together, measure the dimensions diagonally from corner to corner. Adjust the corners until both diagonals are the same length.
- Level it: Finally, ensure the boards are sitting level on the ground. If they are not, dig them down into the grass or garden until they’re level.
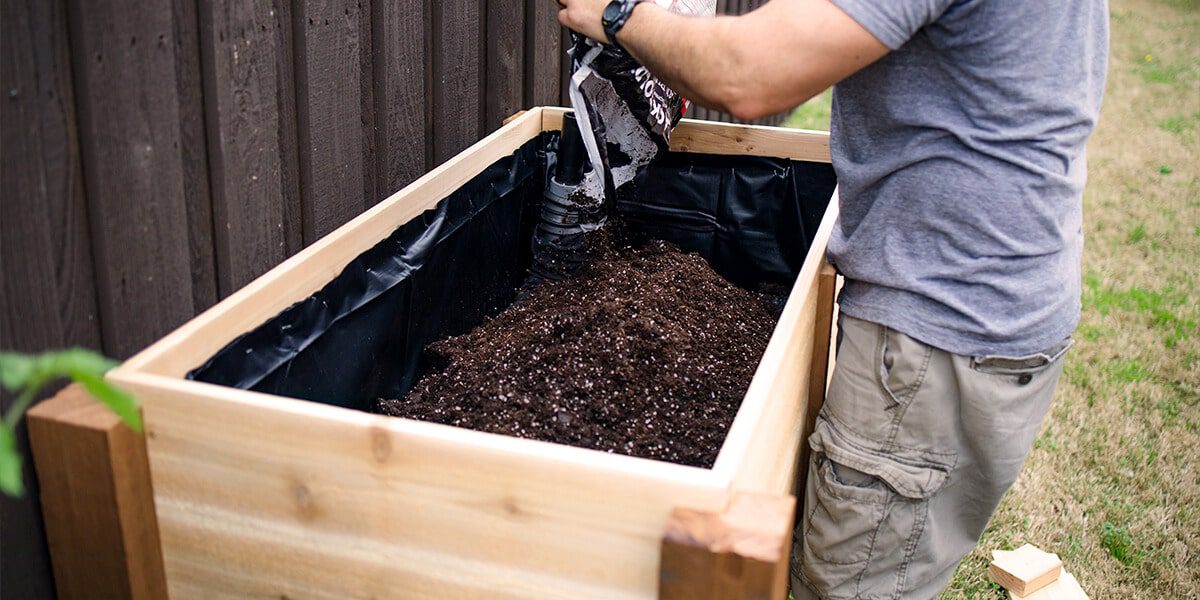
Filling the Raised Garden Bed With Soil
How to get rid of grass? If building over grass, it’s not necessary to dig out the turf beforehand. The new soil alone will suffocate and eventually decompose the lawn underneath. But just to make sure no grass reaches the light, lay down a layer of newspaper or cardboard and soak it with water before you install the soil.
What soil do I start with? One of the perks of building a raised bed is that you can fill it with the optimum soil for your plants. A mixture of nutrient-rich soil and compost is what you need to start your veggies off right.
How much soil do I need? With your dimensions still fresh in your mind, it’s easy to calculate the soil required. The formula “length x width x depth” will give you the correct amount of soil in cubic feet.
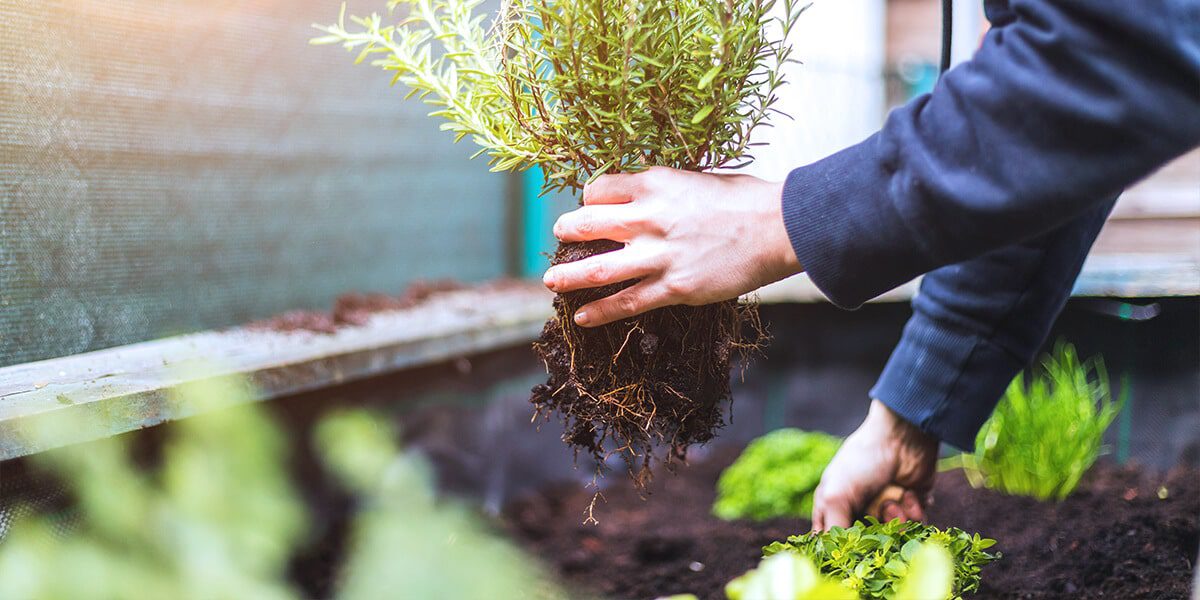
How to Plant a Raised Garden Bed
Once you’ve filled the bed with soil, you’re officially done with the building process. Sit down for a moment to enjoy the fresh look of your new bed. All that remains now is to plant it with your favorite vegetables and flowers.
To start a raised garden bed, all you need is wood, fresh soil, and a few hours of time. Putting in the work to build it will save you lots of weeding down the road, give you extra growing space with the best soil possible, and save your back—among other benefits.
For any gardening materials you need, swing into our garden centers in Bloomingdale and Carpentersville!
Platt Hill Nursery is Chicago’s premier garden center and nursery.