Like your first apartment, your houseplants will eventually grow out of its pot. If your plant is healthy and growing, you’re on the right track—but that also means it will eventually need a roomier place to lay down its roots. However, it’s not uncommon for folks to ask us how the heck to repot their houseplants without killing them! If that sounds like you, repotting is not as tough as you might think. When the time comes, you can refer to this guide to learn exactly how to repot your houseplant for a smooth, seamless transition.
When Should You Repot a Houseplant?
If you haven’t had to repot a plant before, you may be wondering how to tell if your plant needs a new home. The most common telltale signs are:
- The plant has become root-bound: This simply means the plant has developed a root system that has outgrown the pot. You can tell a plant is root-bound if the roots are starting to poke through the drainage holes.
- The plant is showing signs of poor drainage: This could be an issue with the pot itself, or it could be that the soil or growing medium isn’t working for your plant. Yellow leaves are the most common sign that a plant is starting to suffer from overwatering or root rot; if you see this even after scaling back your watering schedule, you may need to repot to correct the issue.
- If the current pot cannot support the weight of your plant: If your plant has grown top-heavy and your planter isn’t very heavy, you might need to repot the plant to keep it from tipping over!
The Best Soil for Plant Repotting
Soil is like clothing—what works for one plant might be a disaster for another. The best soil for repotting your plant entirely depends on the plant you’re working with. Always choose an appropriate soil mix or growing medium for the plant you have, for example:
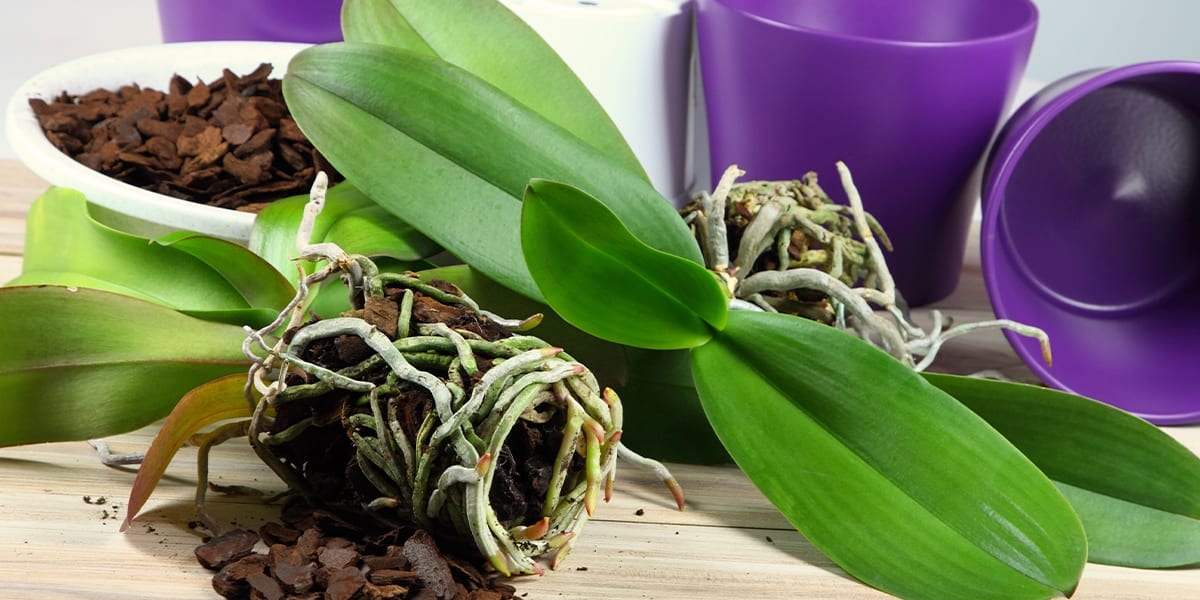
- Epiphytes, like Moth Orchids, prefer a soilless mix with bark or sphagnum moss
- African Violets prefer soil higher in humus, so choose a specialty mix for these fuzzy flowers
- Succulents and cacti need very fast-draining, sandy soil; look for a cacti-specific soil blend.
Your plant’s soil needs should be on their tag, but the majority of houseplants do well with a standard potting mix. Certain plants prefer richer soils; you can improve soil richness by adding a little compost to the potting mix. Our team members at either/both of our nursery locations are awesome resources if you’re not sure which soil to choose, and whether or not to amend it.
Whatever you do, don’t use soil from the garden to repot your houseplants! This would be the houseplant equivalent of putting your plant into a bathtub filled with unfamiliar pests, disease, and weeds. Stick with fresh bags from the greenhouse; these mixes are sterile and safe to use.
Steps for Proper Repotting
Stocked up on soil? Picked out your pot? Let’s get started!
- Water well one or two hours in advance: Give your plant a deep watering; this will make repotting easier and less stressful for your plant.
- Prep the new pot: Guarantee great drainage in your new container by adding some coarse material to the bottom, like rocks, pebbles, or pieces of broken terra cotta pots.
- Layer on some soil: Add a layer of fresh potting mix to the new pot to cover the coarse material.
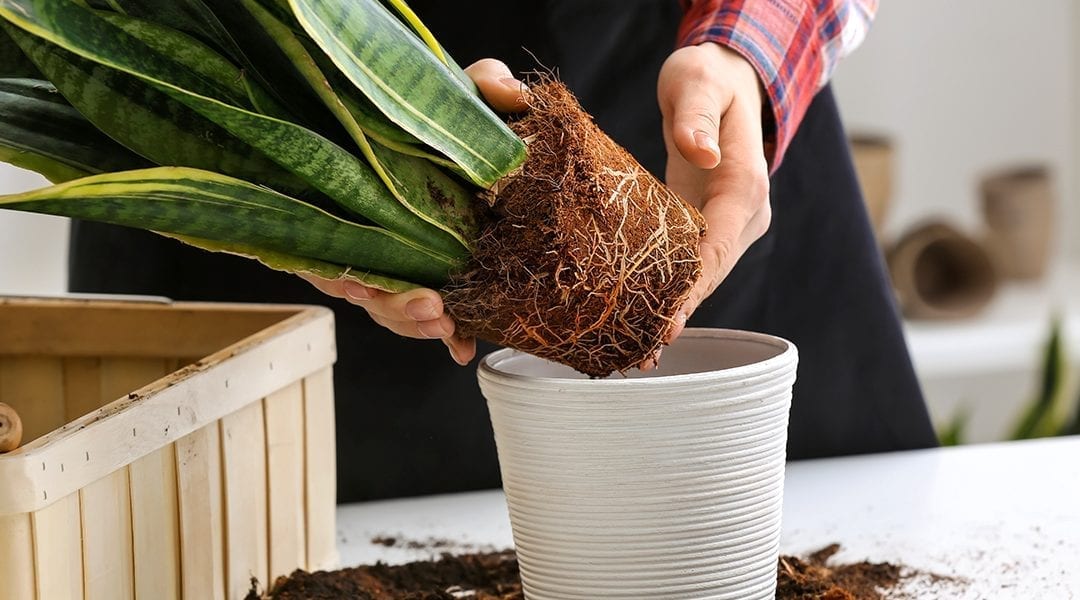
- Slide your plant out of the old pot: Turn the old plant pot to the side, grasp your plant gently at the base, and tilt the pot to “empty” the soil into your hand. The soil and root ball should come out like a “mold” of the old pot.
- Prepare your plant for landing! Holding your plant over the new pot, gently tease the plant roots to loosen them and release some of the old soil.
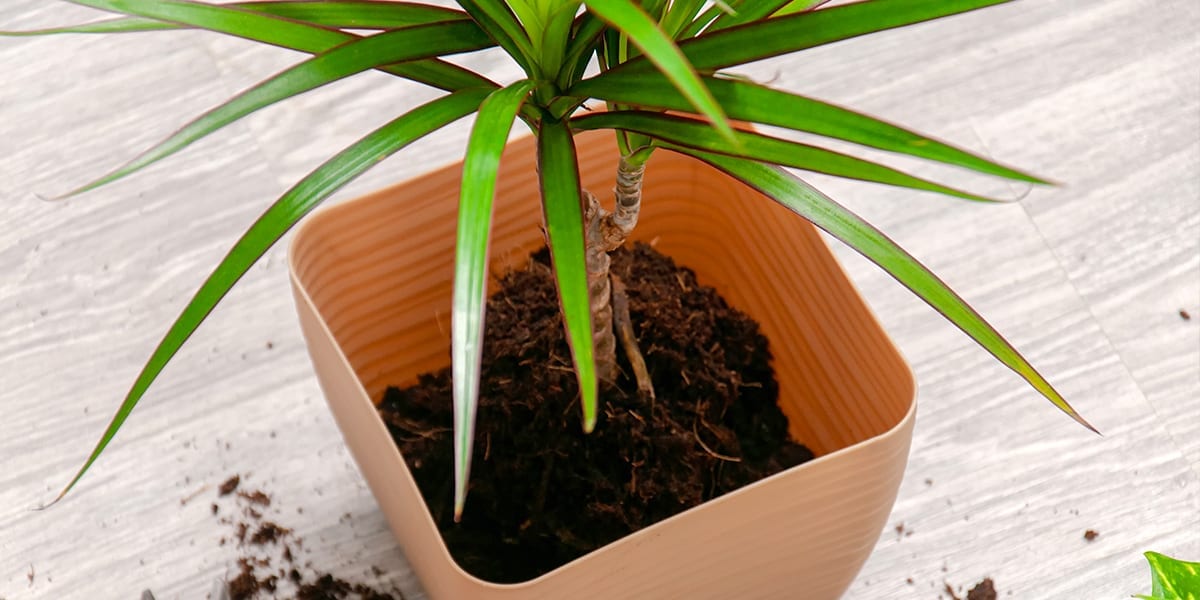
- Settle in. Place the loosened roots into the center of new pot, and backfill around the sides with fresh potting mix. Pack the potting mix in firmly, and water again to settle.
Tips for a Stress-Free Move
Fortunately, repotting plants is much easier and less stressful than moving out of an apartment. However, if your goal is to repot your plant without killing it, here’s what you absolutely need to know!
Size up slowly: Move your plant up just one pot size at a time. A pot that’s too big for your plant won’t suit its watering needs, so you’ll be more likely to over- or under-water.
Be gentle: Never pull the plant out by the stems! If the plant isn’t releasing easily from the pot, squeeze or shake the pot gently to loosen the roots and soil.
Mind the roots: If the roots have grown through the old pot’s drainage holes, anchoring the root ball inside, gently untangle them and tuck them back through the holes. Only cut roots if absolutely necessary. If you must, make sure to use a sharp, clean knife.
That’s all there is to it! If you think you might be nearing your plant’s moving date, make sure to stop by our garden center. We’re confident that you’ll find a stylish, cozy new home for your favorite plant here—along with some great new neighbors!
Platt Hill Nursery is Chicago’s premier garden center and nursery.