Want to know the secret to a lush, vibrant garden? Starting seeds indoors before the growing season begins allows you to grow more plants at a lower cost, all while giving you a head start in the spring! Here’s our beginner’s guide to starting seeds in Northern Illinois.
When to Start Seeds in Illinois
In most cases, the best time to start seeds is approximately six weeks prior to the last frost date. In both Bloomingdale and Carpentersville, that lands somewhere around May 21-31 every year. This is the rule of thumb to follow when in doubt, but your seed packets should include recommendations for how early you should start sowing!
Getting Set Up
Starting seeds is biology, not rocket science! Just a few simple, affordable items can help you get a fantastic running start on this year’s garden. You’ll need:
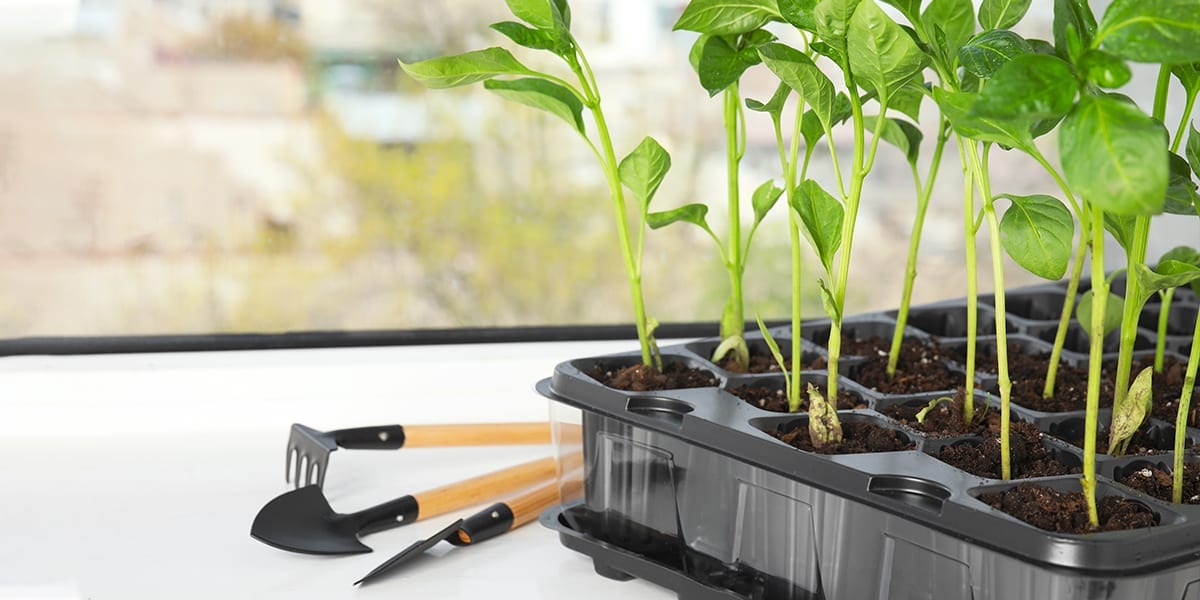
- A seed starting tray with a plastic cover
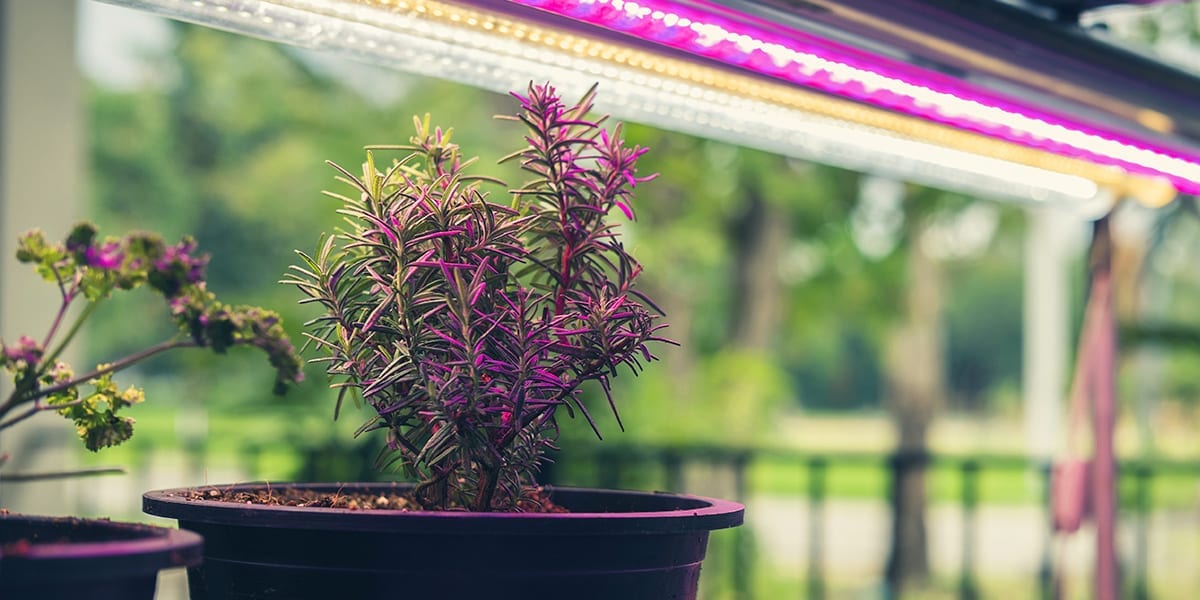
- At least one grow light (A timer is optional, but strongly recommended)
- Labels for your seedlings
- Seed starter heat mat (Optional, depending on the plant)
All of these items are available at either of our garden center locations. If you plan on growing multiple trays of seedlings, we recommend using one grow light per tray.
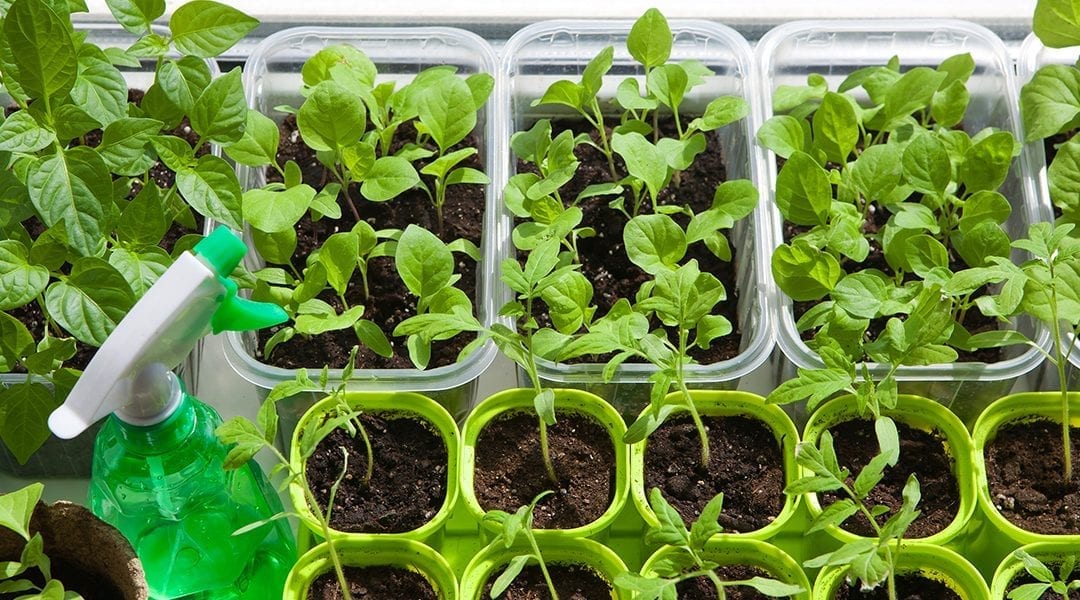
Starting Your Seeds
Seeds need moisture and warmth to germinate properly, so your first task will be to create a welcoming environment for them.
Start by adding water to your tray until all of the cells contain evenly moist, but not sopping wet, soil. Add water slowly until the soil is moist like a damp sponge—avoid turning the soil into mud!
Step two is to plant your seeds in each cell to the depth recommended on the seed packet. Plant a few seeds per cell, as it’s likely that some won’t germinate, and some seedlings won’t grow as strong. You can “thin out” the weaker seedlings later on.
Step three, and don’t skip this one; label your cells! Seed starting is a fairly long-term project, and it’s easy to forget which seed you planted in each cell. Labels are essential for keeping track of your baby plants.
Step four; place the plastic cover over your tray and leave it alone! At this stage, your seeds don’t need light yet. However, some seeds may require a slightly warmer environment to germinate correctly. A heating mat placed beneath the tray provides the right amount of gentle, even heat. Direct sunlight is not a good substitute—the greenhouse effect can cause the tray to get too warm, and your seeds can get “overcooked”!
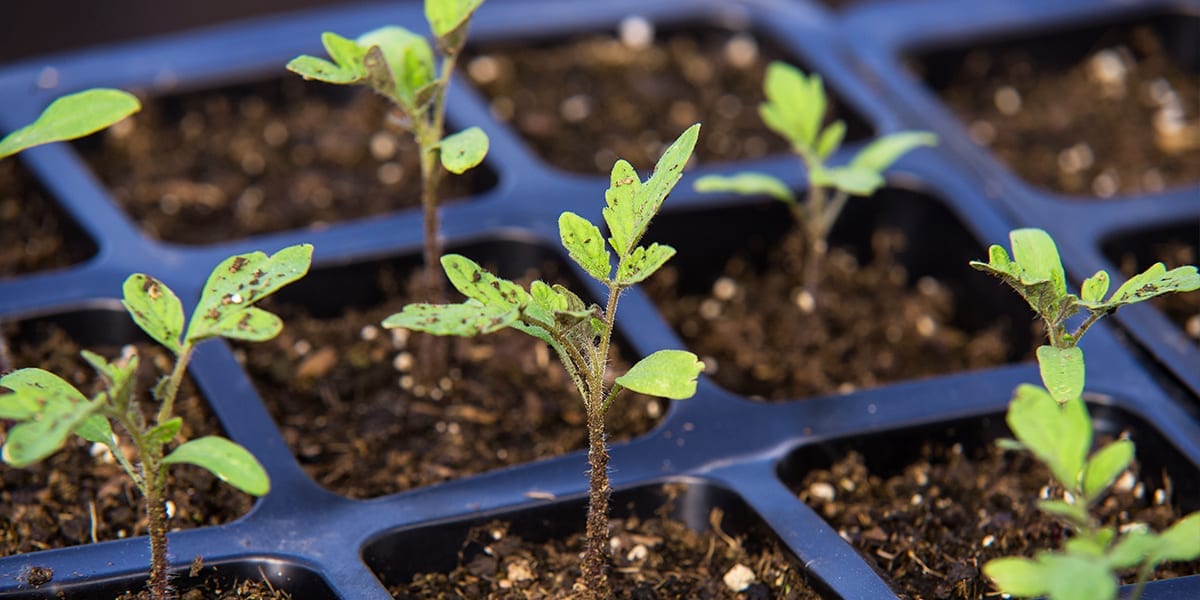
Step five is all about waiting and watching. For the next several days, monitor the tray for changes. Keep the plastic cover on as much as possible and make sure the soil stays consistently moist, but look out for any sign of mold. Once the seeds have sprouted with their first false leaves, called cotyledons, you can remove the plastic cover for good!
Step six is to move your seedlings into a sunny spot and begin using your grow lamp. Here in Northern Illinois, the days at this time of year are a little shorter than our baby plants would prefer. Without the extra light from the lamp, your seedlings are likely to develop issues like legginess or frail stems. Keep the grow lights on your plants for approximately 14-16 hours per day; using a timer will come in handy for this part. Position the grow lamp about 4 inches above the soil line.
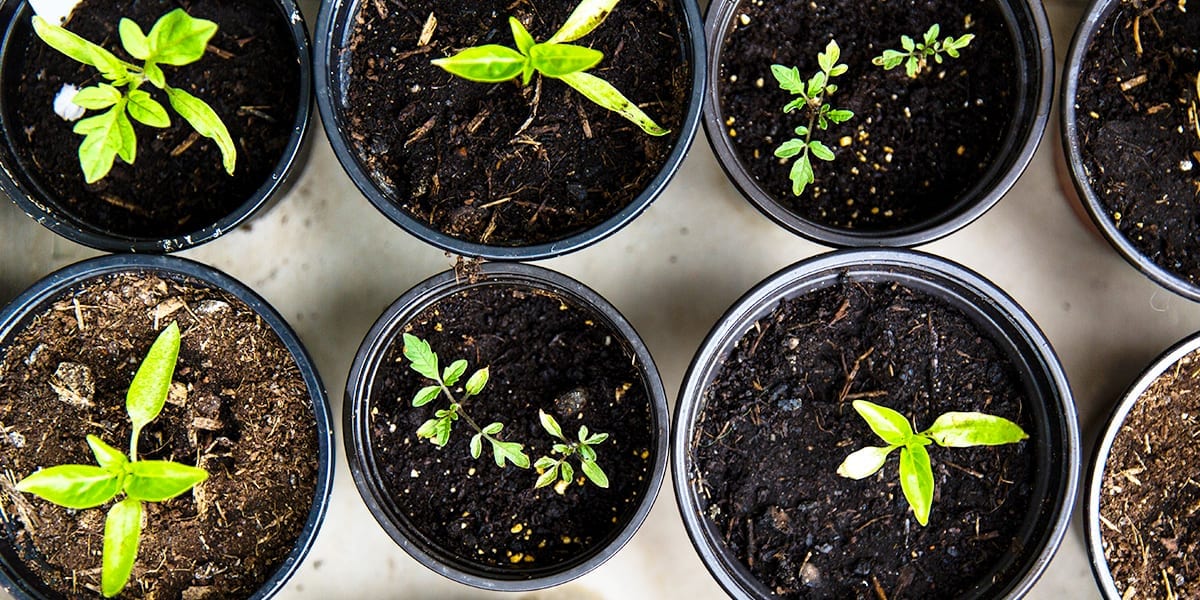
At this point, you can move into the maintenance stage of seed starting. Check on your tray daily to manage moisture levels and look for any emerging problems. Once your seedlings have sprouted their second set of true leaves, use a clean pair of scissors to snip away the weakest seedlings in every pod.
Fertilizing Seedlings
At this point, your seedlings are also ready for their first dose of fertilizer. Use a high-nitrogen, water-soluble fertilizer at half strength and apply the fertilizer by pouring the water into the bottom layer of the tray. This will allow the fertilizer to gently soak in from the bottom of each cell, feeding your plants without the risk of fertilizer burn.
Hardening Off
When the last frost date arrives, your seedlings will need some time to get used to an outdoor environment. This process is known as “hardening off.”
On a nice day, bring the tray(s) outside and place them in a shady area for two hours. Do this again the next day.
On the third day, leave them outdoors in a sunny area for two hours. Repeat this process again the next day, increasing the time to three hours.
Continue to repeat this process daily, adding another hour each time. When your seedlings are finally spending eight hours outdoors, they’re ready to move into your garden beds and outdoor pots for good!
If this is your first year starting plants from seeds, you’re in for a treat. While a few months seems like a long time to babysit a tray of seedlings, it’s common to grow a little attached to your baby plants—and it’s so rewarding to watch them grow up! Witnessing the incredible life cycle of your flowers and vegetables from day one will deepen your appreciation for all plants, both inside and outside of your garden.

ADDITIONAL INFORMATION:
Guide to Growing Vegetables for the First Time
Top Ten Garden Vegetables and Fruits for Beginners
Kid-Friendly Edible Gardening Projects
Platt Hill Nursery is Chicago’s premier garden center and nursery.